iRustica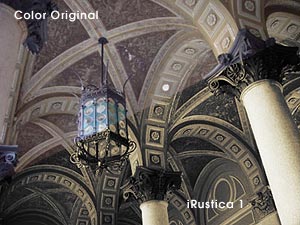
Photography
has forever embraced the treated print. When black and white
was all there was, sepia, cold-toning, warm toning and hand coloring
were popular.
Today,
the art of enhancing a monochromatic image, to communicate more
than simple monochrome, is an art.
Photographers
have found ways of matching tonal effects to subject matter in
order to emotionally communicate more by introducing subtle color
in selected tonalities of the print, while controlling contrast
and tonal range for visual impact.
Duotones
and tri-tone prints for fine art images may be created digitally.
The iRustica iNovaFX series of Photoshop Actions (PSAs) target
antiquity. In the above example, iRustica1 has been applied to
the color image without any preparation of the original. Manipulation
of the original will cause the iRustica effects to change.
Note that
the contrast of the image is increased and that in mid-dark tones
an ocher tint "ages" the look of the image without
being a blatant sepia effect. The increased contrast avoids blowing
out the highlights and completely blocking up the shadow detail
while giving a feeling of increased sharpness overall.
These iNovaFX
Photoshop Actions are inspired by Linda Butler's outstanding
book of photography, ITALY In the
Shadow of Time,
which celebrates her truly timeless compositions through unique
warm-toned treatments of her rich monochrome images.
 iRustica 1, 2 and 3 bring
a digital echo of this technique. It will be up to you to bring
the image, composition and tonalities that complete the picture. iRustica 1, 2 and 3 bring
a digital echo of this technique. It will be up to you to bring
the image, composition and tonalities that complete the picture.
The Actions
assume that you will start with a color image, although they
work well with original monochromatic images.
The three
variations place a warm color into different areas of the tonal
scale. Experimentation and experience will guide you.
A special
variation called the "iRustica Carnet" allows you to
quickly generate and review an image with all three variations.
Call it an "experience accelerator."
In the
Photoshop History Palette, three labeled variations will be generated
in quick execution. You can stack them, combine them in various
ways and achieve numerous interesting results.
What happens,
for instance, when you change the final hue by +/-55 degrees?
I've tried it. You'll like it!
Operational
Note: If
you have any difficulty with an iNovaFX Action or Carnet, you
may need to do some of this first:
1. Make
sure the image is in RGB format, not Grayscale.
2. Purge
the History Palette so the only thing there is the original image
you wish to work on. Make sure the starting image is selected
--highlighted-- in the History Palette.
3. Flatten
the image so the Action begins with just a single layer to work
with.
iRustica
and iLiners are no longer available over the Web. For their most recent
updates you'll just have to buy the eBook. Version 6.0 Nikon
eBook and the coming Version 2.0 Sony eBook has them all.
Thanks
for all valid owners who downloaded them during the promotion.
Your feedback was valuable.
|
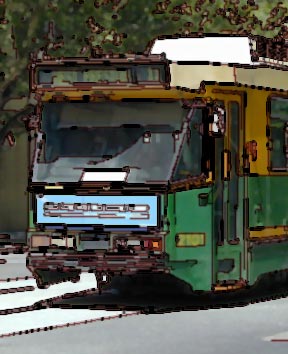
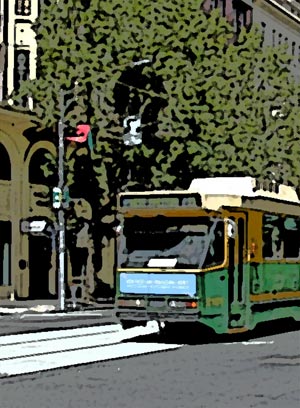
 It's a crop from a horizontal
image of one of Melbourne's city street cars that make zipping
around Melbourne, Australia, so easy for locals and visitors
alike.
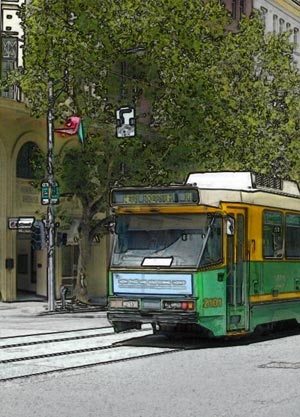 In just a few seconds,
the photo has become a piece of artwork. Rather like a line drawing
with wet watercolor technique.
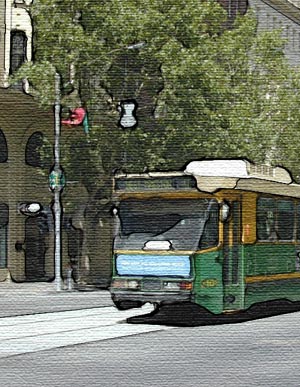 In a few more seconds,
the image appears.
 This time there is a
huge qualitative difference. People are unlikely to assume it
was a photo to begin with.
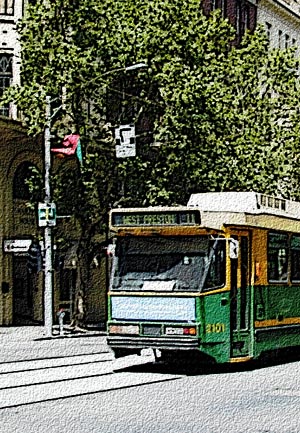 It's photographic and
graphic at the same time.
 iRustica 1, 2 and 3 bring
a digital echo of this technique. It will be up to you to bring
the image, composition and tonalities that complete the picture.
 Get
the eBook(s)